
Whirlpool Microwave Range Hood Manual Overview
Whirlpool microwave range hood manuals provide essential guidance for various models․ They cover installation, operation, maintenance, and specific features of combinations like WMH1162XVD and WML55011H, ensuring safe and effective use in your kitchen․
Understanding Your Whirlpool Microwave Range Hood Combination
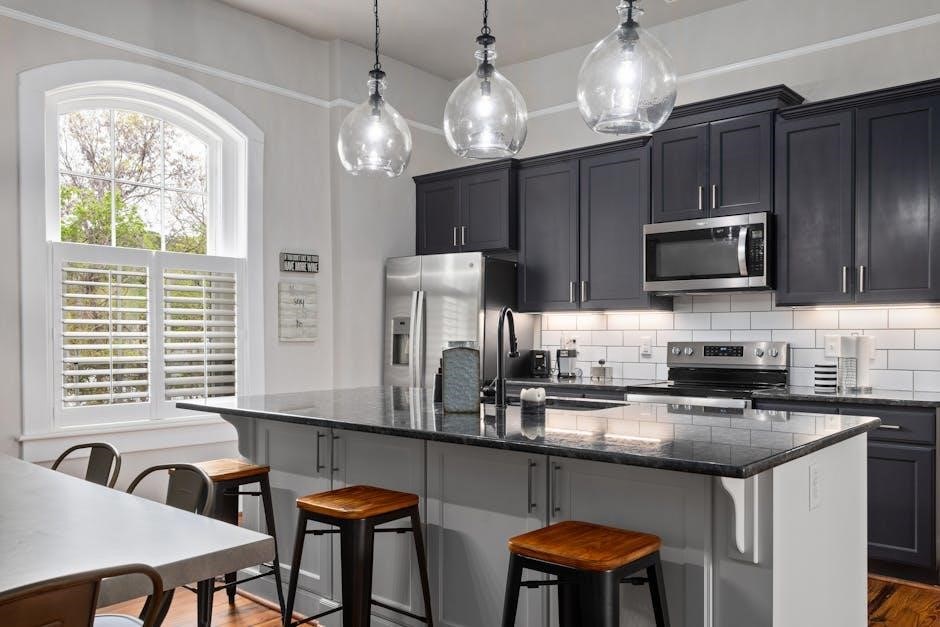
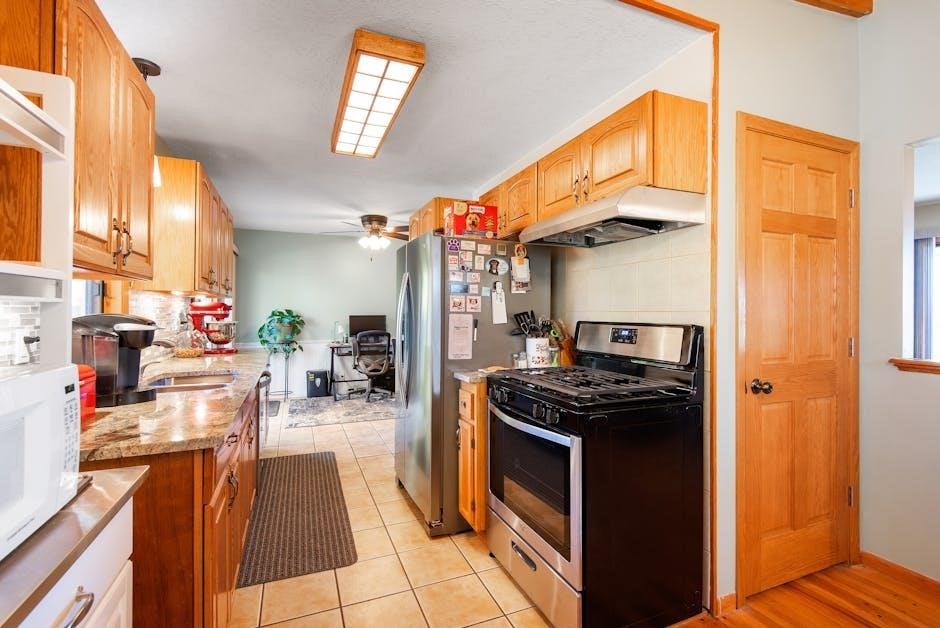
Understanding your Whirlpool microwave range hood combination means recognizing its integrated design and dual functionality․ These “microhood” units, exemplified by models like WMH1162XVD or low-profile WML55011H and WML75011HZ, are designed for efficient over-the-range placement, optimizing kitchen space․ They offer convenient microwave cooking, with precise power levels for reheating and defrosting․ Crucially, they simultaneously ensure robust removal of cooking fumes, smoke, and odors from your stovetop․ This integrated functionality is vital for a fresh kitchen environment․ The manual is key to comprehending how these distinct features operate together․ It clearly clarifies Whirlpool’s blend of advanced cooking technology with efficient air purification․ This makes the appliance a truly smart, space-saving, and highly functional solution, enhancing overall kitchen efficiency and user experience․
Installation Instructions for Over-the-Range Microwaves
Installing an over-the-range Whirlpool microwave hood requires careful attention to the installation instructions manual․ This process involves crucial steps for mounting, establishing electrical connections, and setting up proper ventilation for safe and effective operation․

Mounting the Over-the-Range Microwave Safely
Ensuring the safe and secure mounting of your Whirlpool over-the-range microwave is paramount for appliance longevity and household safety․ Before beginning, always meticulously review the dedicated installation instructions manual provided for your specific model, such as the Whirlpool WMH1162XVD․ This manual details critical steps for attaching the mounting plate to the wall, precisely locating studs for secure fastening, and preparing the cabinet area․ Proper preparation might involve temporarily moving your range to provide adequate working space, as one user noted during kitchen renovations․ The physical installation process typically requires lifting the microwave into position and securing it to the mounting plate and upper cabinet․ This is often best accomplished with a helper due to the appliance’s weight and awkward size, transforming it into a “simple job” with the right assistance․ Essential tools, including drills, levels, and screwdrivers, are indispensable for accurate and firm attachment, preventing instability․ Following these guidelines ensures your new Whirlpool microhood is safely installed, ready for effective operation and ventilation above your cooktop, especially crucial in kitchens where space is at a premium․
Electrical Connections for Your Microwave Hood
Proper electrical connections are crucial for the safe and efficient operation of your Whirlpool microwave hood combination; The installation instructions manual, which explicitly covers electrical setup, emphasizes strict adherence to local codes and national electrical safety standards․ Typically, over-the-range microwaves require a dedicated 120-volt, 15 or 20-amp circuit to prevent overloading and ensure consistent power delivery, avoiding potential outages․ Before making any connections, always ensure the power supply to the circuit is completely turned off at the main breaker to prevent electrical shock hazards․ The manual will detail how to correctly route the power cord and connect it to the designated grounded outlet, often located conveniently in the cabinet above the microwave․ If you are uncertain about any aspect of the electrical wiring or circuit requirements, it is highly recommended to consult a qualified electrician․ Incorrect connections can lead to serious malfunctions, damage to the appliance, or even dangerous electrical fires․ Following the specific guidelines in your Whirlpool manual, such as those for models like the WMH1162XVD or WML55011H, guarantees a secure and compliant electrical setup for your new appliance, ensuring reliable cooking and ventilation performance․
Ventilation Setup for Effective Fume Removal
Effective ventilation is paramount for your Whirlpool microwave range hood combination to properly remove smoke, grease, and cooking odors from your kitchen․ The installation manual, as highlighted in guides for over-the-range microwaves, provides detailed instructions on setting up the ventilation system for optimal performance․ You will typically choose between external venting (ducted) or recirculating (ductless) options, depending on your kitchen’s configuration․ External venting, where fumes are expelled outside through a duct, is generally preferred for superior fume removal․ The manual will detail ductwork requirements, including duct size and length limitations, to ensure efficient airflow․ For recirculating setups, which filter air and return it to the kitchen, instructions for charcoal filter installation are critical․ Proper ventilation prevents the accumulation of heat and moisture, maintaining air quality and protecting your cabinetry․ As one user noted, installing a range hood is a crucial part of kitchen renovation, and ensuring effective fume removal is key to its functionality․ Following the specific guidelines in your Whirlpool manual guarantees a safe and high-performing ventilation system for a fresh kitchen environment․
Essential Tools for Whirlpool Microhood Installation
Installing a Whirlpool microhood, as highlighted in installation videos, requires a specific set of essential tools for a smooth and safe process․ A high-quality cordless drill, such as a DEWALT, is indispensable for drilling pilot holes and securing mounting brackets firmly into wall studs and cabinet bases․ You’ll also need a reliable stud finder to accurately locate these structural elements for secure attachment․ A tape measure and a pencil are crucial for precise measurements and marking the template correctly, preventing misalignments․ A level ensures your microwave range hood is perfectly straight, contributing to aesthetics and operation․ For electrical connections, if not simply plugging in, a complete screwdriver set, wire strippers, and cutters might be necessary․ Depending on your ventilation setup, a jigsaw or reciprocating saw could be required to cut openings for ductwork or the power cord in your cabinetry․ Safety glasses and gloves are always recommended for personal protection․ Finally, as explicitly noted, a helper is invaluable for lifting and positioning the appliance securely, simplifying the job․ These essential tools, combined with your Whirlpool manual, facilitate a successful installation․

Operating Your Whirlpool Microwave Hood Combination
Operating your Whirlpool microwave hood combination involves mastering its dual functionalities․ The manual guides users on effectively utilizing both the cooking features of the microwave and the ventilation capabilities of the range hood for optimal kitchen performance․
Changing Power Levels for Precise Cooking
Precise cooking hinges on Whirlpool microwave power levels․ They control energy intensity, vital for varied culinary tasks․ High power suits rapid heating or boiling liquids efficiently․ Medium settings ensure even vegetable cooking, preventing undesirable hot spots․ Lower power protects delicate foods like fish or sauces, preventing overcooking to gently preserve their texture and flavor, guaranteeing optimal results for sensitive ingredients․
Accurate power is also vital for successful reheating and defrosting functions․ Lower power defrosts gently, preventing exterior cooking while interiors thaw thoroughly and gradually for best results․ Moderate reheating power ensures uniform heat distribution, eliminating cold spots and maintaining food quality․ Your Whirlpool manual and instructional videos guide specific setting adjustments․ Mastering these power levels guarantees superior culinary outcomes, ensuring perfectly prepared dishes, enhancing efficiency, and elevating your overall cooking experience․
Utilizing Reheating and Defrosting Functions
Your Whirlpool microwave hood combination excels at both reheating and defrosting, offering convenience for everyday meal preparation․ To effectively utilize these functions, understanding their nuances is key․ For reheating, the microwave distributes heat evenly, preventing cold spots often encountered with conventional methods․ The manual or instructional videos guide users on selecting appropriate power levels and durations for various food types, ensuring items are warmed thoroughly without drying out or overcooking․ This precise control is crucial for maintaining the quality and taste of leftovers․
Similarly, the defrosting function is designed to thaw frozen foods gradually and safely․ Instead of simply cooking the outer layers, it employs specific power cycles to bring the food to a usable temperature from its frozen state․ It’s important to frequently check the food and separate pieces as they thaw, preventing the edges from cooking․ Consult your Whirlpool manual for recommended defrosting times and weights for different items, guaranteeing your food is ready for cooking or consumption without compromise․

Maintenance and Troubleshooting Guide
This guide provides essential information for keeping your Whirlpool microwave hood in optimal condition․ Learn about routine care, filter cleaning, and addressing common operational issues, ensuring longevity and peak performance․ Simple solutions for typical problems are included․
Replacing a Burned Out Light on Whirlpool Microwave Hoods
Replacing a burned-out light on your Whirlpool microwave range hood is a straightforward maintenance task, ensuring proper illumination for your cooktop․ For models like the Whirlpool WMH1163 Microwave Range Hood, the process typically involves a few simple steps․ First, always ensure the appliance is unplugged from its power source or the circuit breaker is turned off to prevent electrical shock․ Locate the light cover, which is usually held by screws or clips on the underside of the microwave․ Carefully remove these fasteners and take off the cover․ Identify the burned-out bulb․ Depending on your specific model, it might be a standard incandescent, halogen, or LED bulb․ Gently unscrew or unclip the old bulb․ It’s advisable to wear gloves to avoid transferring oils from your skin to new halogen bulbs, which can shorten their lifespan․ Insert the new bulb, ensuring it is securely seated․ Replace the light cover and fasten it with the screws or clips․ Finally, restore power to the microwave and test the new light․
Specific Whirlpool Microwave Hood Manuals and Models
Explore specific Whirlpool microwave range hood manuals here․ Find detailed guides for models such as the WMH1162XVD 1․6 cu․ ft․ combination, WML55011H Low Profile, WML55011HS, WMH1163, and WML75011HZ designs;

Whirlpool WMH1162XVD 1․6 cu․ ft․ Microwave-Range Hood Manual
The Whirlpool WMH1162XVD 1․6 cu․ ft․ Microwave-Range Hood Combination Installation Instructions Manual is the definitive resource for setting up this specific appliance․ It provides comprehensive, step-by-step guidance for safe, efficient over-the-range unit installation․ Owners find detailed directions for securely mounting the microwave above the cooktop․ The manual meticulously covers electrical connections, offering clear guidance for proper wiring and emphasizing critical safety precautions․ It outlines effective ventilation setup, explaining how to configure the system for efficient smoke and fume removal, maintaining optimal kitchen air quality․ Essential tools for installation are identified, streamlining preparation․ Following these precise directives within the WMH1162XVD manual ensures compliant, successful installation․ This guarantees the longevity and optimal performance of your 1․6 cu․ ft․ Whirlpool microwave-range hood combination․
Whirlpool WML55011H Low Profile Microwave Hood User Manual
The Whirlpool WML55011H Low Profile Microwave Hood User Manual is an indispensable guide for owners of this innovative, space-saving appliance․ It meticulously details operational procedures, ensuring users can effectively utilize its unique features for precise cooking, reheating, and defrosting․ The manual provides clear insights into changing power levels, allowing for versatile meal preparation tailored to various dishes․ It also covers essential maintenance routines, including instructions for filter cleaning or replacement, crucial for maintaining optimal performance and effective fume removal․ Troubleshooting tips help address common issues efficiently, minimizing appliance downtime․ Furthermore, the user manual offers critical safety warnings and usage guidelines specific to the WML55011H model, promoting confident and safe operation․ Its optimized PDF format ensures easy accessibility and readability, making it a convenient digital resource․ This comprehensive guide empowers owners to maximize the convenience and functionality of their Whirlpool WML55011H low-profile appliance, especially in modern, compact kitchens․
Whirlpool WML55011HS Model Features and Specifications
The Whirlpool WML55011HS model distinguishes itself as a contemporary low-profile microwave hood combination, meticulously designed to optimize kitchen space without compromising performance․ This appliance integrates seamlessly above your range, providing both efficient cooking capabilities and powerful ventilation for fume removal․ Its sleek design, often featuring a stainless steel finish, offers an aesthetically pleasing addition to modern kitchen aesthetics․ Key features include versatile cooking functions, allowing for precise control over various dishes through adjustable power levels․ Users can effortlessly utilize dedicated settings for reheating and defrosting, streamlining meal preparation․ The WML55011HS incorporates robust ventilation, effectively capturing smoke and odors, enhancing air quality in your cooking area․ While specific capacity details are best found in the full manual, its low-profile nature typically implies a thoughtful balance between interior space and exterior compactness․ This model is engineered for convenience and durability, reflecting Whirlpool’s commitment to user-friendly kitchen solutions, making it a popular choice for homes seeking both functionality and elegant design․
Whirlpool WMH1163 Microwave Range Hood Light Replacement
Replacing a burned-out light on your Whirlpool WMH1163 microwave range hood is a simple, yet essential, maintenance task that restores proper illumination to your cooktop․ A well-lit cooking area is crucial for safety and visibility while preparing meals․ Fortunately, performing this replacement is typically straightforward, often described as a “simple tutorial” by many users․ Before beginning, always ensure the appliance is unplugged from its power source to prevent electrical shock․ Locate the light cover, usually held by screws or clips, on the underside of the microwave․ Carefully remove this cover, often by unscrewing it․ Once the cover is off, the old bulb can be accessed․ Gently unscrew the old bulb, typically a standard incandescent or halogen type, and replace it with a new bulb of the identical wattage and base type specified in your WMH1163 manual․ Avoid touching new halogen bulbs directly with bare hands, as oils can shorten their lifespan; Finally, reattach the light cover securely and plug the microwave back in, testing the new light to ensure it functions correctly․

Whirlpool WML75011HZ Low Profile Microwave Oven Look and Feel
The Whirlpool WML75011HZ Low Profile Microwave Oven is specifically designed to offer a sleek and modern aesthetic, enhancing the overall visual appeal of contemporary kitchens․ Its “look and feel” is a significant selling point, emphasized even by dedicated videos showcasing its design․ This model stands out due to its remarkably slim profile, which allows it to blend seamlessly above cooktops without dominating the kitchen space, a common concern for those “starved for space․” The design prioritizes clean lines and a minimalist facade, contributing to an uncluttered appearance․ Users often appreciate the integrated handle design or subtle push-button release, which further contributes to its streamlined look․ The control panel is typically intuitive, featuring a responsive touch interface that feels modern and provides clear feedback․ Material choices, often including a fingerprint-resistant stainless steel finish, not only add to its sophisticated appearance but also offer a premium tactile experience, making it easy to maintain its pristine look․ This thoughtful design ensures the WML75011HZ is both functionally efficient and visually appealing, fitting perfectly into modern kitchen renovations․