
Simpson Washing Machine Repair Manual: An Overview
Navigating Simpson washing machine repairs demands a dedicated manual, offering crucial insights into model-specific troubleshooting and component replacement procedures for optimal performance.
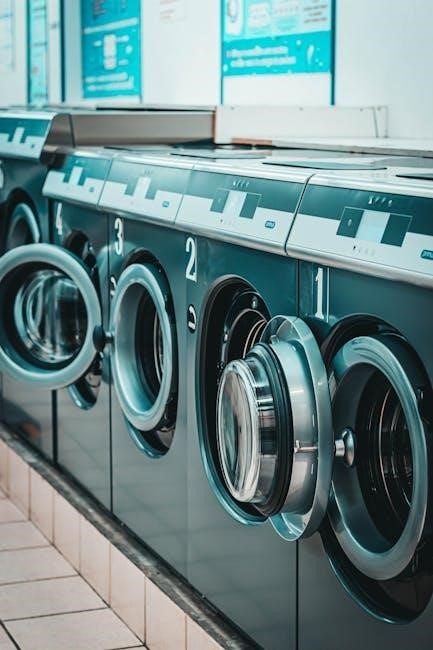
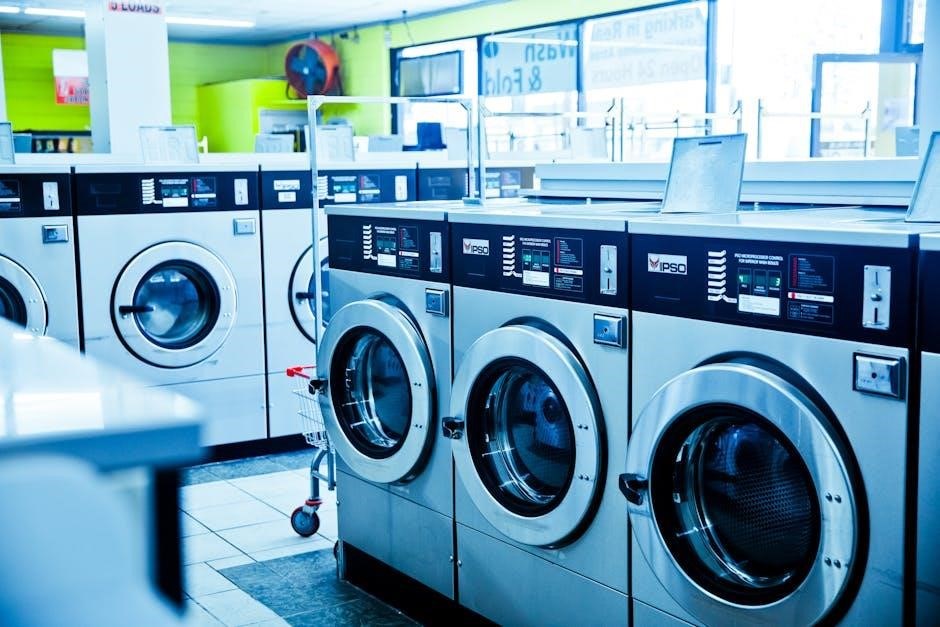
Understanding Simpson Washing Machine Models
Simpson offers a diverse range of washing machine models, each with unique characteristics impacting repair procedures. Top-load agitator models, known for their traditional cleaning action, often experience issues with the agitator, transmission, or lid switch. High-efficiency (HE) top-load models, utilizing impeller technology, may present problems with the impeller, water level sensor, or drain pump.
Front-load washers, prized for their water and energy efficiency, can encounter issues with the door boot seal, drum bearings, or electronic control board. Identifying your specific Simpson model number – typically found on a label located on the machine’s back or inside the lid – is paramount. This number unlocks access to the correct repair manual, parts diagrams, and troubleshooting guides tailored to your machine’s design and components, ensuring accurate and effective repairs.
Locating the Correct Repair Manual
Finding the appropriate repair manual for your Simpson washing machine is crucial for successful troubleshooting. Start by visiting the official Simpson website; many manufacturers offer downloadable manuals in PDF format, searchable by model number. Alternatively, explore dedicated appliance repair websites – often providing free or subscription-based access to detailed manuals and diagrams.
Online retailers specializing in appliance parts frequently host repair manuals as supplementary resources. Consider searching online forums and communities dedicated to appliance repair; experienced users may share links to manuals or offer guidance. When selecting a manual, verify it corresponds precisely to your machine’s model number to ensure accuracy. A correct manual will detail component locations, disassembly instructions, and safety precautions, facilitating a safe and effective repair process.

Common Simpson Washing Machine Problems
Frequent issues include drainage blockages, spin cycle failures, water supply disruptions, and motor malfunctions – all addressable with the right repair manual guidance.
Drainage Issues
Simpson washing machine drainage problems often stem from a clogged drain pump filter, easily accessible for cleaning. A kinked or blocked drain hose is another common culprit, requiring inspection and removal of any obstructions. More complex issues might involve a faulty drain pump itself, necessitating replacement guided by your repair manual.
Before diving into repairs, always disconnect the power supply! Carefully examine the drain hose for bends or blockages. If the filter is clogged, ensure all water is drained before opening it to prevent spills. The repair manual will provide specific diagrams for your model, illustrating the filter and pump locations. Remember to check for foreign objects like coins or lint that frequently cause blockages. A thorough cleaning and inspection, following the manual’s instructions, usually resolves these drainage issues efficiently.
Failure to Spin
When a Simpson washing machine won’t spin, several factors could be at play. A frequently encountered issue is a worn or broken drive belt, preventing the drum from rotating. The motor coupling, connecting the motor to the transmission, can also fail, halting the spinning action. Additionally, a malfunctioning lid switch—a crucial safety feature—might prevent operation if it doesn’t register the lid is closed.
Consult your Simpson repair manual for detailed diagrams illustrating the belt and coupling locations. Always disconnect power before any inspection! Replacing the drive belt is often straightforward, but the motor coupling may require specialized tools. The lid switch can be tested for continuity using a multimeter. Your manual will provide specific testing procedures. Addressing these components, guided by the manual, typically restores the spin cycle functionality.
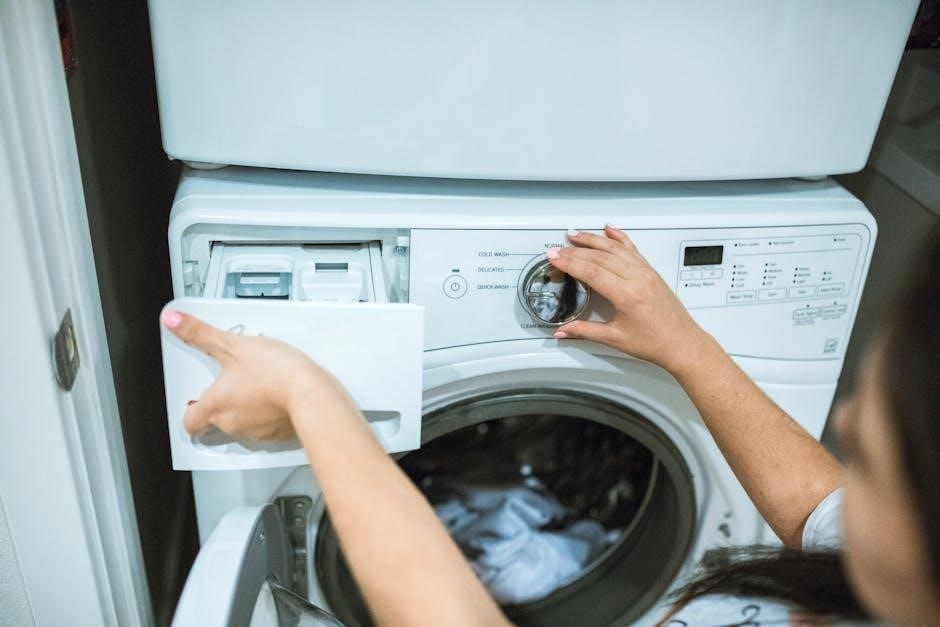
Water Inlet Problems
If your Simpson washing machine isn’t filling with water, or fills slowly, the issue often lies within the water inlet valve assembly. This valve controls the flow of hot and cold water into the machine. Sediment buildup can restrict water flow, or the valve itself may fail electrically. A kinked or blocked inlet hose is another common culprit, preventing adequate water delivery.
Your Simpson repair manual will detail the location of the inlet valve and hose. Before inspection, disconnect both power and water supply! Check the hoses for obstructions and ensure they aren’t sharply bent. Testing the inlet valve with a multimeter can determine if it’s receiving power. Replacement is usually necessary for a faulty valve. Refer to the manual’s diagrams for proper installation and wiring connections, ensuring a secure and functional water supply.

Motor Malfunctions
A failing motor is a serious issue, often presenting as the washing machine failing to agitate or spin. Before assuming motor failure, check the motor overload protector – a reset button often found near the motor. If the protector repeatedly trips, it indicates a more significant problem. Your Simpson repair manual provides specific motor testing procedures, usually involving a multimeter to check for continuity.
Brushed motors can experience worn brushes, causing intermittent operation. Brush replacement is a viable repair, detailed in the manual. For brushless motors, a faulty capacitor or control board is more likely. Motor replacement is often necessary for severe failures. Always disconnect power before accessing the motor. The manual’s wiring diagrams are crucial for correct reconnection, ensuring safe and proper operation of the new motor.

Tools Required for Simpson Washing Machine Repair
Successful repairs necessitate a well-equipped toolkit, encompassing standard hand tools, specialized instruments like multimeters, and essential safety gear for secure operation.

Essential Hand Tools
A solid foundation for Simpson washing machine repair begins with a comprehensive set of hand tools. A screwdriver set – including Phillips head, flathead, and Torx – is paramount for accessing internal components; Pliers, encompassing slip-joint, needle-nose, and locking pliers, provide versatility for gripping and manipulating parts.
Wrenches, both open-end and adjustable, are crucial for loosening and tightening fasteners. A socket set, with various sizes, ensures secure handling of bolts and nuts. Don’t overlook the importance of a rubber mallet for gentle persuasion when disassembling stubborn parts. A utility knife proves invaluable for cutting away damaged hoses or insulation.
Furthermore, a good quality multimeter is essential for electrical testing, and a nut driver set can expedite fastener removal. Having these readily available streamlines the repair process, minimizing downtime and maximizing efficiency.
Specialized Tools
Beyond standard hand tools, certain specialized equipment significantly aids Simpson washing machine repair. A hose clamp pliers set is essential for safely removing and installing clamps on water hoses without damage. A wire stripper/crimper facilitates electrical connection repairs, ensuring secure and reliable wiring.
A drain pan is crucial for catching residual water during component removal, preventing messes and potential water damage. A valve core removal tool proves useful when dealing with water inlet valve issues. For diagnosing motor problems, an amp clamp meter can measure electrical current draw.
Additionally, a bearing puller might be necessary when replacing the washing machine drum or related components. Investing in these specialized tools enhances repair accuracy and efficiency, allowing for more complex fixes to be tackled with confidence.
Safety Equipment
Prioritizing safety is paramount when undertaking Simpson washing machine repairs. Always wear safety glasses to protect your eyes from flying debris or splashed liquids during disassembly and reassembly. Heavy-duty work gloves are essential to shield hands from sharp edges on metal components and prevent cuts.
A rubber-soled mat provides insulation against potential electrical shock, especially when working near power sources. A face mask or respirator is advisable when dealing with mold or mildew, particularly in areas prone to dampness.
Ensure adequate ventilation in the work area, especially if using cleaning solvents or lubricants. Keep a fire extinguisher readily accessible in case of electrical malfunctions. Proper safety gear minimizes risks and ensures a secure repair environment, protecting you from potential hazards.
Step-by-Step Repair Guides
Detailed, illustrated guides simplify complex repairs, covering belt replacements, hose fixes, timer troubleshooting, and water pump changes for effective Simpson washing machine maintenance.
Replacing the Drive Belt
A worn or broken drive belt is a frequent cause of Simpson washing machine malfunctions, preventing the drum from spinning correctly. Begin by disconnecting power to the machine – a crucial safety step! Access the drive belt, typically located at the rear of the washer, often behind a service panel.
Carefully remove the old belt, noting its routing around the motor pulley and drum. Inspect the pulleys for wear or damage; replace if necessary. Install the new belt, ensuring it’s properly seated in the grooves of both pulleys. Double-check the routing against your repair manual’s diagram.
Reattach the service panel and restore power. Run a test cycle to confirm the drum spins smoothly and the washing machine operates as expected. A properly replaced drive belt restores efficient operation and prevents further damage to the motor or drum assembly. Always consult the manual for your specific Simpson model.
Fixing a Leaky Water Hose
Water leaks from hoses are common in Simpson washing machines, potentially causing water damage. First, disconnect the power and shut off the water supply to the machine – safety first! Locate the leaking hose, typically connected to the water inlet valve at the back of the washer;
Loosen the hose clamps using pliers or a screwdriver. Carefully remove the old hose, inspecting it for cracks or punctures. Replace the hose with a new one of the correct size and type, ensuring a secure fit. Tighten the hose clamps firmly, but avoid over-tightening, which could damage the hose or valve.
Restore the water supply and power, then run a test cycle, carefully monitoring for leaks. A properly secured hose prevents water damage and ensures efficient washing machine operation. Refer to your Simpson model’s manual for specific hose specifications and diagrams.
Troubleshooting the Timer
A malfunctioning timer can cause a Simpson washing machine to fail to advance through cycles, stop mid-cycle, or not start at all. Begin by disconnecting power to the machine. Access the timer, usually located behind the control panel – consult your model’s repair manual for specific access instructions.
Visually inspect the timer for burnt contacts or damaged components. Use a multimeter to test the timer’s continuity and ensure proper electrical flow through each cycle setting. If the timer is electronically controlled, check for blown fuses or faulty relays.
Replacing the timer is often the most practical solution if repairs are complex. Ensure the replacement timer is compatible with your Simpson model. Reinstall the timer, reconnect the wiring, and test the machine. A correctly functioning timer is crucial for proper washing machine operation.
Replacing the Water Pump
A faulty water pump prevents proper draining, leading to standing water in the washing machine. Disconnect power and water supply lines before starting. Locate the pump – typically at the base of the machine, accessible from the rear or front panel (refer to your manual).
Disconnect the hoses connected to the pump, noting their positions for reassembly. Remove the pump’s mounting screws or clips. Before installing the new pump, inspect the drain hose for obstructions. Ensure the new pump’s impeller spins freely.
Connect the hoses securely, and reinstall the pump, tightening the mounting hardware. Restore power and water, then run a drain cycle to verify proper operation. A replacement pump restores the machine’s ability to effectively remove water after each wash.

Simpson Washing Machine Parts & Resources
Sourcing replacement parts and diagrams is vital for successful repairs; online retailers and Simpson’s official support channels offer comprehensive assistance and warranties.
Finding Replacement Parts
Locating genuine Simpson washing machine parts requires a strategic approach, ensuring compatibility and maintaining the appliance’s performance standards. Begin by identifying your specific model number, typically found on a label located on the back or inside the door of the washing machine. This number is crucial when searching for parts online or contacting retailers.
Several online retailers specialize in appliance parts, offering a wide selection of Simpson components. Websites like AppliancePartsPros, RepairClinic, and Sears PartsDirect are excellent resources. Always double-check the part number and compatibility before making a purchase. Simpson’s official website may also offer direct access to parts or direct you to authorized dealers.
Local appliance repair shops can also source parts for you, potentially offering faster turnaround times. When ordering, consider the shipping costs and return policies. Keeping a record of your purchases and the part numbers can be helpful for future repairs. Prioritize genuine Simpson parts whenever possible to guarantee quality and longevity.
Online Parts Diagrams
Accessing Simpson washing machine parts diagrams is invaluable for visualizing component locations and understanding assembly procedures during repairs. Numerous websites provide exploded views, showcasing how each part connects within the machine. These diagrams are particularly helpful when tackling complex repairs or identifying unfamiliar components.
Websites like AppliancePartsPros and RepairClinic frequently host detailed parts diagrams for various Simpson models. Simply enter your model number to access the corresponding schematic. These diagrams often allow you to click on individual parts to view their names, part numbers, and availability. ManualsLib also provides access to service manuals that include comprehensive parts lists and diagrams.
Utilizing these diagrams can prevent incorrect part ordering and streamline the repair process. Carefully study the diagrams before disassembling your washing machine, noting the orientation and connections of each component. Save or print the relevant diagrams for easy reference during the repair. Remember to always disconnect power before beginning any work.
Warranty Information
Understanding your Simpson washing machine’s warranty is crucial before attempting any repairs. The original warranty typically covers defects in materials and workmanship for a specified period, often one year from the date of purchase. However, extended warranties may be available through retailers or directly from Simpson.
Review your purchase documentation to determine the exact terms and conditions of your warranty. Note the coverage period, what components are included, and any exclusions. Attempting repairs yourself may void the warranty, particularly if the repair is not performed by an authorized service technician.
If your washing machine is still under warranty, contact Simpson’s customer support or an authorized service center for assistance. They can diagnose the problem and arrange for repair or replacement if necessary. Keep records of all communication and repair attempts. Always check the warranty status before purchasing replacement parts.
Safety Precautions During Repair
Prioritize safety by disconnecting power and water, wearing protective gear, and handling components with care to prevent electrical shock or injury during repairs.
Electrical Safety
Working with electrical appliances like Simpson washing machines presents inherent risks, demanding strict adherence to safety protocols. Always disconnect the washing machine from the power outlet before commencing any repair work. Do not rely solely on turning the machine off; physically unplug it to eliminate the risk of accidental shock.
If you are uncomfortable working with electrical components, do not attempt the repair. Seek assistance from a qualified appliance repair technician. Before handling any wiring, use a non-contact voltage tester to confirm the power is off. Inspect power cords for damage – frayed wires or cracked insulation – and replace them immediately if found.
Never work on electrical components with wet hands or in a damp environment. Ensure the work area is well-lit and dry. Remember that capacitors can store an electrical charge even after the power is disconnected; discharge them properly before handling. Ignoring these precautions can lead to severe injury or even fatality.
Disconnecting Water Supply
Prior to initiating any Simpson washing machine repair involving water components, completely disconnect the water supply. Locate the hot and cold water shut-off valves, typically positioned behind the machine or in a nearby utility area. Turn both valves clockwise until fully closed, halting water flow to the appliance.
After closing the valves, relieve any remaining water pressure within the hoses. Carefully disconnect the inlet hoses from both the washing machine and the water supply valves. Have a bucket and towels readily available to catch any residual water spillage. Inspect the hoses for cracks, bulges, or signs of wear and replace them if necessary.
Failing to properly disconnect the water supply can result in flooding and potential water damage. Double-check that both valves are securely closed before proceeding with repairs. Remember to re-connect the hoses tightly after completing the repair and slowly turn the water supply back on, checking for leaks.
Handling Sharp Objects
Simpson washing machine repairs often necessitate working with components featuring sharp edges or points. The internal cabinet, metal wiring, and broken plastic parts can all pose laceration risks. Always wear heavy-duty work gloves to protect your hands during disassembly and reassembly processes.
Exercise extreme caution when handling the washing machine drum, as its edges can be surprisingly sharp, especially if damaged. When removing or replacing parts like the pump or agitator, carefully inspect for protruding metal or broken plastic fragments. Utilize tools to manipulate components whenever possible, minimizing direct hand contact.
Dispose of any broken parts responsibly, packaging them securely to prevent injuries to others; Maintain a clean and organized workspace, promptly removing any sharp debris. Prioritizing safety when handling sharp objects is crucial for a successful and injury-free repair experience.