The Jiffy Seed Starting Greenhouse Kit is a versatile, all-in-one solution for indoors seed germination. Perfect for gardeners of all skill levels, it simplifies the process.
1.1 Overview of the Jiffy Greenhouse Kit
The Jiffy Greenhouse Kit is a comprehensive seed-starting system designed for indoor gardening. It includes a watertight base tray, peat pellets, and a clear humidity dome to promote optimal germination conditions. The kit is user-friendly, catering to both novice and experienced gardeners, and supports the growth of vegetables, herbs, and flowers. Its compact design makes it ideal for small spaces while ensuring healthy seedling development.
1.2 Benefits of Using Jiffy Greenhouse for Seed Starting
The Jiffy Greenhouse offers numerous benefits for seed starting, including consistent moisture retention, optimal humidity control, and protection for delicate seeds. Its compact design saves space while promoting healthy germination and growth. The clear dome ensures proper light penetration and maintains warmth, while the peat pellets provide a nutrient-rich medium. This kit is ideal for gardeners of all levels, supporting the successful growth of vegetables, herbs, and flowers. It ensures robust seedlings and simplifies the seed-starting process, making it a reliable choice for indoor gardening.
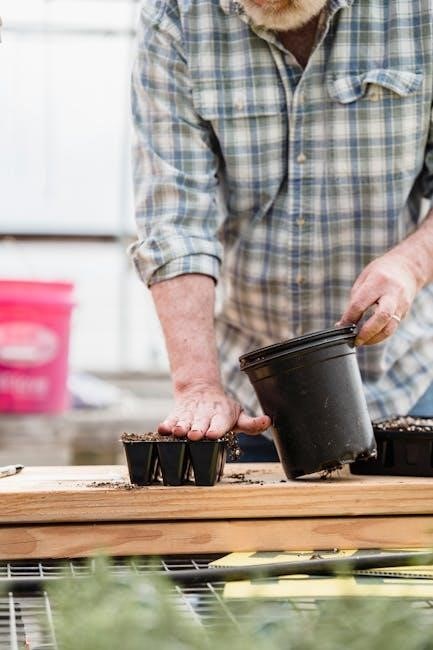
Unboxing and Preparing the Jiffy Greenhouse Kit
Start by unboxing the Jiffy Greenhouse Kit, which includes a tray, peat pellets, and a clear dome. Sterilize the components with a 9:1 water-to-bleach solution and let them dry thoroughly before use.
2.1 Components of the Jiffy Seed Starting Kit
The Jiffy Seed Starting Kit includes a watertight base tray, 50 peat cell strips for easy transplanting, and a clear humidity dome to maintain moisture. The kit is designed with 36 cells, each containing a 36mm peat pellet, perfect for starting vegetables, flowers, and herbs. This setup ensures minimal root disturbance during transplantation, promoting healthy plant growth from the start.
2.2 Sterilization and Preparation of the Greenhouse Kit
Sterilize the Jiffy Greenhouse kit by mixing 9 parts water with 1 part chlorine bleach. Apply the solution to the tray and lid, ensuring all surfaces are cleaned. Allow the components to dry completely before use. This step prevents contamination and ensures a clean environment for seed germination. Once dry, soak the peat pellets in warm water to prepare them for sowing seeds, following the kit’s instructions carefully.
Preparing the Peat Pellets
Peat pellets are essential for seed starting. Soak them in warm water to expand, creating a nurturing environment for seeds to germinate effectively and uniformly indoors.
3.1 Soaking Peat Pellets in Warm Water
Begin by pouring warm water into the base tray. Place the peat pellets inside, allowing them to absorb the water and expand fully. Once expanded, gently open the netting on each pellet to create a small planting hole. Ensure the pellets are moist but not waterlogged, as over-saturation can hinder germination. This step is crucial for creating the right environment for seed germination.
3.2 Allowing the Pellets to Expand
After soaking, let the peat pellets expand fully. They can grow up to 7 times their original size. Once expanded, gently pull back the netting on each pellet to create a small indentation. This step ensures the pellet is ready for seed placement. Proper expansion is essential for providing the right environment for seed germination and healthy root development. Allow the pellets to sit until they are fully expanded before proceeding. This ensures optimal conditions for seed germination and root growth.
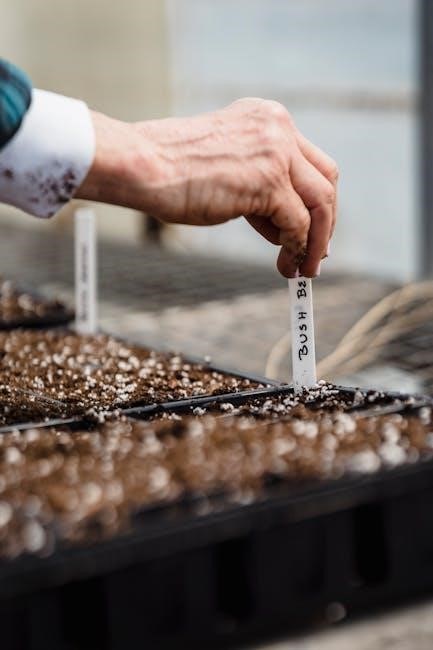
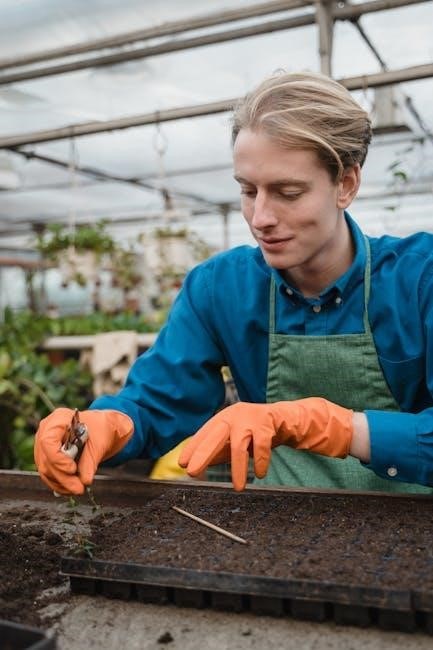
Sowing Seeds in the Jiffy Greenhouse
Place seeds in the center of each expanded peat pellet. Cover lightly with peat for optimal germination. This method ensures proper seed-soil contact and even growth.
4.1 Placing Seeds in the Center of Each Peat Pellet
Gently place one or two seeds in the center of each expanded peat pellet. Ensure the seed is in direct contact with the pellet for proper germination. For small seeds, place them on the surface. Larger seeds should be pressed lightly into the peat. Avoid overfilling, as this can lead to overcrowding and poor growth. This step ensures even germination and healthy seedling development.
4.2 Covering the Seeds with Peat
After placing the seeds in the center of each peat pellet, gently sprinkle a thin layer of peat moss over them. Ensure the peat is evenly spread, providing about a quarter inch of coverage. Avoid pressing down too firmly to prevent compacting the peat, which could hinder drainage. Once covered, mist the seeds with water to maintain consistent moisture. Replace the clear dome to retain humidity, promoting germination. Monitor temperature and light exposure as recommended for your specific seeds to ensure optimal growing conditions.
Providing Optimal Conditions for Germination
Maintain humidity using the clear dome, ensure adequate indirect light, and provide consistent warmth around 70-80°F to create ideal germination conditions for best results.
5.1 Maintaining Humidity with the Clear Dome
Place the clear dome on the tray to lock in moisture and maintain humidity. This promotes consistent germination conditions. Remove the dome once seeds sprout to prevent mold. Ensure the peat pellets remain moist but not waterlogged by checking daily. Proper humidity levels support healthy seed development and robust root growth, enhancing overall germination success rates significantly.
5.2 Ensuring Adequate Light and Heat
Place the Jiffy Greenhouse near a sunny window or under grow lights, avoiding direct sunlight to prevent overheating. Maintain a consistent temperature of 70-80°F for optimal germination. Monitor light and heat levels, as insufficient light can delay germination, while excessive heat may dry out peat pellets. Ensure the environment remains stable to promote healthy seed development and robust root formation. Proper conditions enhance germination success rates significantly. Bright, indirect light is ideal once seeds sprout.
Caring for Seeds After Sowing
Monitor the greenhouse daily, ensuring peat pellets remain moist but not waterlogged. Maintain consistent humidity and temperature, providing indirect light to promote healthy seedling growth and development.
6.1 Watering the Peat Pellets
Water peat pellets gently but thoroughly, ensuring they remain moist without becoming waterlogged. Use a watering tray or spray bottle to maintain consistent moisture levels. Avoid overwatering, as it can lead to mold growth. The clear dome helps retain humidity, but check daily to ensure conditions stay optimal for germination. Always water at soil level to prevent displacing seeds.
6.2 Monitoring Temperature and Humidity
Maintain optimal temperature (70-80°F) and humidity levels for germination. Use the clear dome to retain moisture, but check daily to prevent overhydration. Ensure air circulation by slightly opening the dome if condensation builds up. Monitor temperature with a thermometer if possible. Adjust conditions based on seed type and stage of growth. Proper monitoring ensures healthy germination and robust seedling development.
What to Do When Seeds Sprout
Once seeds sprout, remove the humidity dome to allow air circulation. Gradually increase light exposure, ensuring seedlings receive sufficient illumination for healthy growth. Avoid direct sunlight initially.
7.1 Removing the Humidity Dome
Once seeds sprout, gently lift and remove the humidity dome to prevent overheating and promote air circulation. Monitor seedlings closely, ensuring they don’t dry out. Gradually expose them to direct light, adjusting as needed to avoid stress. This step marks the transition from germination to seedling growth, requiring careful observation to ensure healthy development.
7.2 Providing Sufficient Light for Seedlings
After removing the humidity dome, place seedlings in a sunny location or under grow lights. Ensure they receive 12-16 hours of light daily. Natural light from a south-facing window is ideal, while grow lights should be 6-8 inches above the seedlings. Avoid direct sunlight, as it may overheat the greenhouse. Proper lighting promotes strong, healthy growth and prevents leggy seedlings.
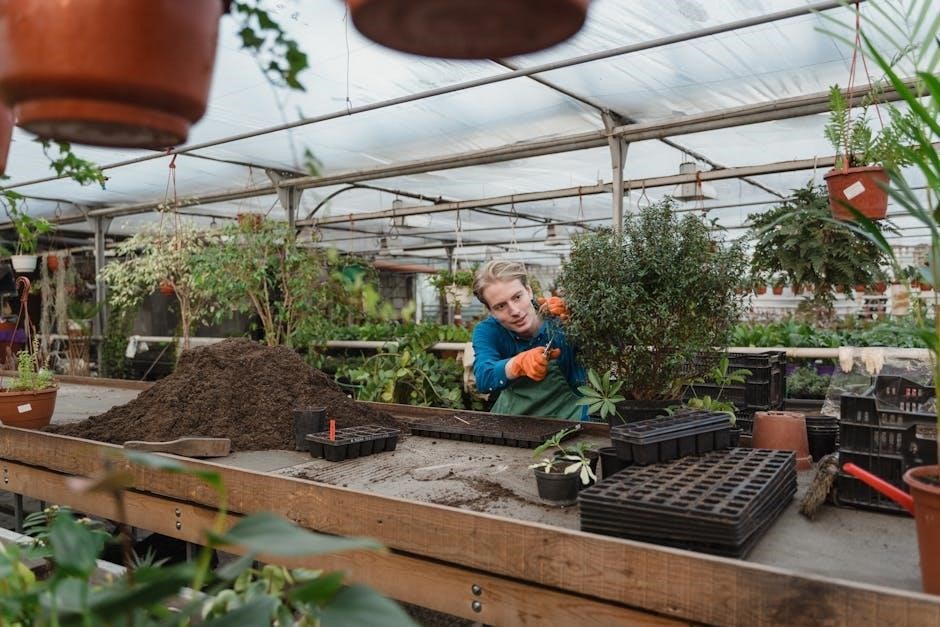
Transplanting Seedlings
The Jiffy Greenhouse Kit’s peat pellets are designed for easy transplanting, minimizing transplant shock. Simply transfer the entire pellet to a larger container or directly into soil.
8.1 Hardening Off Seedlings Before Transplanting
Hardening off seedlings is crucial before transplanting. Start by moving seedlings outdoors to a shaded area for 2-3 days, gradually increasing sun exposure over 7-10 days. Avoid direct sunlight and extreme weather to prevent shock. This process strengthens the seedlings, ensuring they adapt to outdoor conditions before being planted in larger containers or soil.
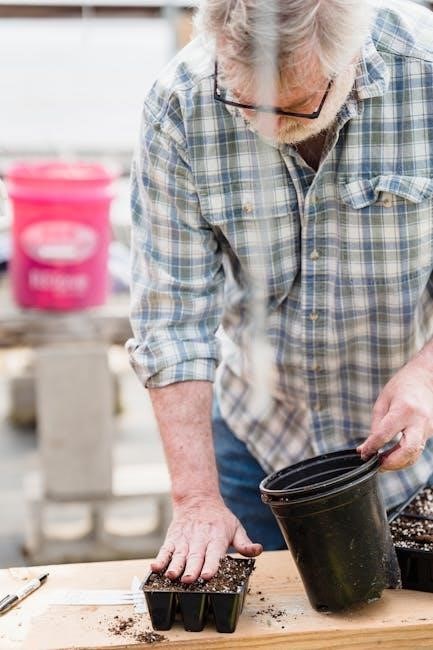
8.2 Planting Seedlings in Larger Containers or Outdoor Soil
Once seedlings are hardened off, carefully transplant them into larger containers or outdoor soil. Gently remove the peat pellet, ensuring not to disturb the roots. Plant at the same depth as in the Jiffy kit. Water thoroughly and provide appropriate light and nutrients. Ensure the new container has drainage holes to prevent waterlogged soil, promoting healthy root growth and robust plant development.
Troubleshooting Common Issues
Identify and address issues like poor germination, overwatering, or mold growth promptly. Adjust conditions, improve air circulation, and ensure proper watering to maintain healthy seedlings.
9.1 Addressing Poor Germination Rates
Poor germination can result from old seeds, incorrect water temperature, or insufficient light. Ensure seeds are viable, water is lukewarm, and provide adequate light. Avoid overwatering, as it can lead to mold and poor root development. Adjust conditions promptly to improve germination success rates and healthy seedling growth.
9.2 Managing Overwatering or Underwatering
Overwatering can cause mold and rot, while underwatering may slow germination. Check peat pellets daily; they should be moist but not soggy. If overwatered, drain excess water and reduce watering frequency. For underwatering, gently add water to the tray without soaking. Maintain a balanced moisture level to promote healthy root development and prevent seedling stress.
The Jiffy Greenhouse Kit is an excellent tool for successful seed starting. Maintain optimal conditions, monitor progress, and ensure proper care for strong seedlings. Happy gardening!
10.1 Best Practices for Using the Jiffy Greenhouse Kit
To achieve optimal results, always sterilize the kit before use and maintain consistent humidity. Ensure peat pellets are fully expanded and seeds are sown at the correct depth. Provide adequate light and heat, and monitor temperature and moisture levels regularly. Avoid overwatering and gradually acclimate seedlings to outdoor conditions before transplanting. Following these steps ensures healthy growth and robust seedlings.
10.2 Encouragement for Successful Seed Starting
Starting seeds with the Jiffy Greenhouse Kit is a rewarding journey! Whether you’re a seasoned gardener or a beginner, the joy of watching seeds germinate and grow is incredibly fulfilling; Remember, patience and consistency are key. Celebrate each sprout as a small victory, and take pride in nurturing your plants from their earliest stages. With proper care, your efforts will yield strong, healthy seedlings ready to thrive in your garden or larger containers.